How To Make a Smoker (4 Ways)
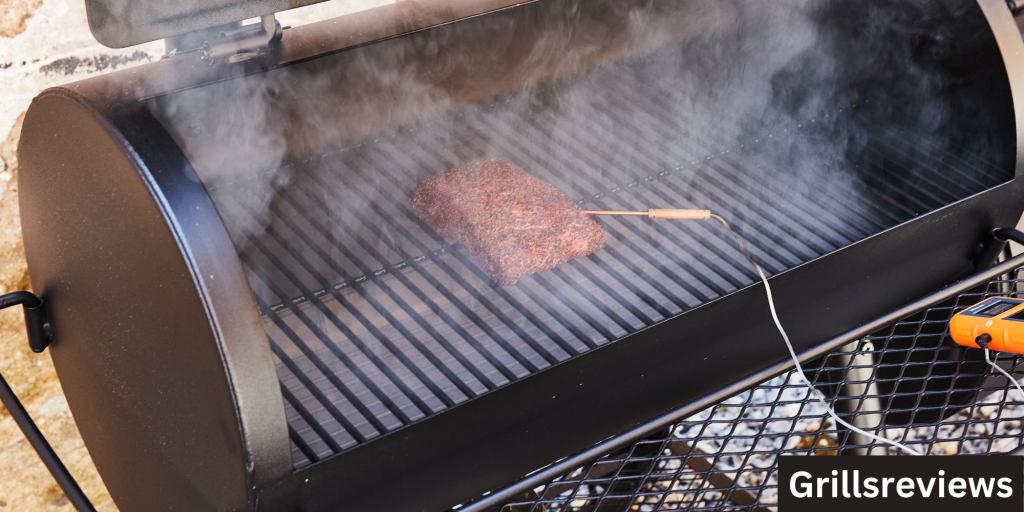
Any pitmaster who enjoys DIY and wants the fulfillment of knowing they not only prepared the food but also constructed the smoker it was cooked in should build their own smoker!
Smokers aren’t the most affordable patio or yard accessories you can get. You might have said, “I might as well just build one!” out of frustration.
That isn’t a terrible concept at all.
Follow our guide for inspiration on building your own smoker.
What is a Smoker?
What a smoker is and how it differs from a grill is one of the most frequent queries we receive.
Knowing the distinction is crucial, particularly at this time when you’re attempting to produce the former rather than the latter.
Grill
Using a grill, you may cook food on a surface that is often or openly exposed.
When you grill meals, you must sometimes turn the meat over to prevent burning one side.
In summary, you cook your meat primarily on a grill as opposed to a smoker, which simultaneously cooks and flavors it.
Smoker
Similar to a grill, a smoker also features cooking grates, or a grid, and a space for coals.
A smoker features a spot where you can add wood or pellets, unlike a grill.
The cooking grate will most likely be covered with a smoker to retain smoke from the wood inside.
Your smoked meat’s flavor is imparted by the smoke that emanates from the wood of your choosing.
4 Unique Ways To Make A Smoker
You should at least have some alternatives or sources of inspiration if you’re creating a smoker at home.
Here are four original methods to create your own. These are cheap and don’t require much expertise.
Garbage Can
Flower Pots
Old Oil Drum
File Cabinet
How To Build a Smoker Using Old Garbage Can (4 Easy Steps)
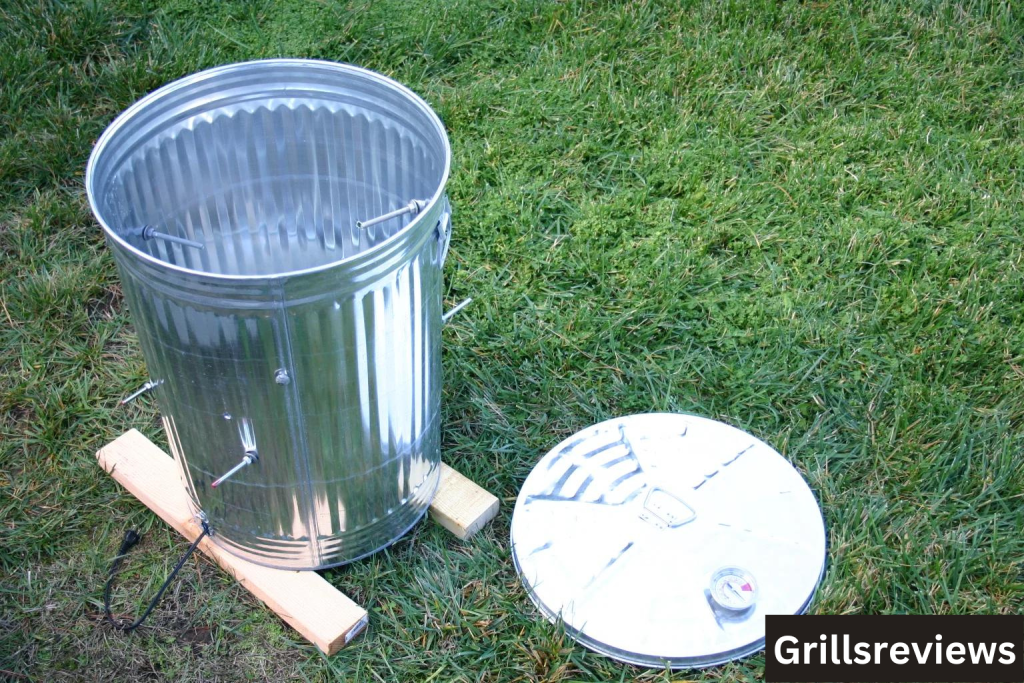
You got that correctly. You may create a smoker out of an old trash can.
Of course, if you want to do this, fully clean your trash can.
To prevent your meat from tasting like plastic if you buy one, make sure it isn’t painted or covered with epoxy.
The following are required:
An old garbage can that has a lid
A grill grate for your BBQ that is the same diameter as the garbage can
A wood chip box
A drill
An electric hot plate
The methods for making your own garbage can smoker are as follows:
Step 1: Drill a Hole at One Side of the Garbage Can
The opening must be big enough to accommodate the electrical cable of your hot plate.
This is why the hole ought to be close to the bottom of the trash can.
Step 2: Place the Electric Hot Plate at the Bottom of the Garbage Can
The opening must be big enough to accommodate the electrical cable of your hot plate.
This is why the hole ought to be close to the bottom of the trash can.
Step 3: Place the Wood Chip Box on Top Of the Hot Plate
Your choice of wood chips should be added to the chip box.
To give your meat flavor, the hot plate beneath warms the wood chips in the box.
Unsurprisingly, the flavor is influenced by the wood chips you used.
Step 4: Add the Barbecue Grate at the Mouth of the Garbage Can
Get a grill grate that is around the same size as the opening of your trash can.
Although you might be tempted, keep in mind that your wood chip box is at the bottom and won’t fit in the can’s mouth.
This calls for the grating to be removable.
Make a hole where the wood chip box is if you wish to weld the grate in place. When you need to add pellets or wood to your smoker, this will provide you access to the wood chip box.
How To Make a Smoker Grill Using a Pair of Flower Pots (5 Easy Steps)
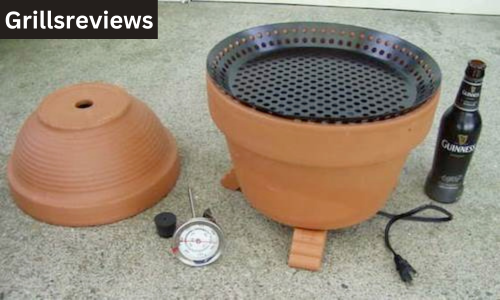
Unused flower pots can be repurposed as smokers. This will likely be the makeshift smoker in this post that takes the least handyman expertise.
Step 1: Place a hot plate at the bottom of a 14 in (36 cm) flower pot
Insert the hot plate cable through the pot’s opening at the bottom. Place the pot atop two or three bricks to provide an elevated platform for the burner cord and to increase stability (and prevent a shaky smoker).
While you still have easy access to it, turn the hot plate to the highest setting. When you’re ready to cook, plug it in to start the heat.
Step 2: Set a metal pie pan filled with damp wood chips on top of the hot plate
For the most heat and smoke, use a pie plate that is just big enough to touch the edges of the flower pot while being tiny enough to fit on the burner. Wet wood chips are used in this situation. Put enough in the pie dish so that the chips are level with the plate’s lips.
For general smoking, we advise using oak, hickory, or mesquite chips. Before cooking, soak them in water for at least a whole night to ensure that they are thoroughly moist.
Step 3: Place a small grill plate in the pot and cover it with another flower pot
Place a grill plate measuring 8 inches (20 cm) on top of the chips, making sure it almost touches them. Next, place a second similar flower pot on top of the first one and align their edges to fit together as closely as possible.
Step 4: Plug in the hot plate and let it heat to 200 °F (93 °C)
Incorporate a thermometer prong through the pot’s hole. After that, turn on the hob by plugging it in. While you wait for it to warm up, prepare the meat in accordance with your recipe.
Step 5: Cook your meat to an internal temperature of 170 °F (77 °C)
Smaller slices of meat, such as bacon, pork, or small birds, should be smoked for a few hours or until they reach 170 °F (77 °C). Every half hour or so, check the temperature using a meat thermometer.
To handle any component of the homemade smoker, always use heat-resistant gloves.
How To Make an Ugly Drum Smoker (4 Easy Steps)
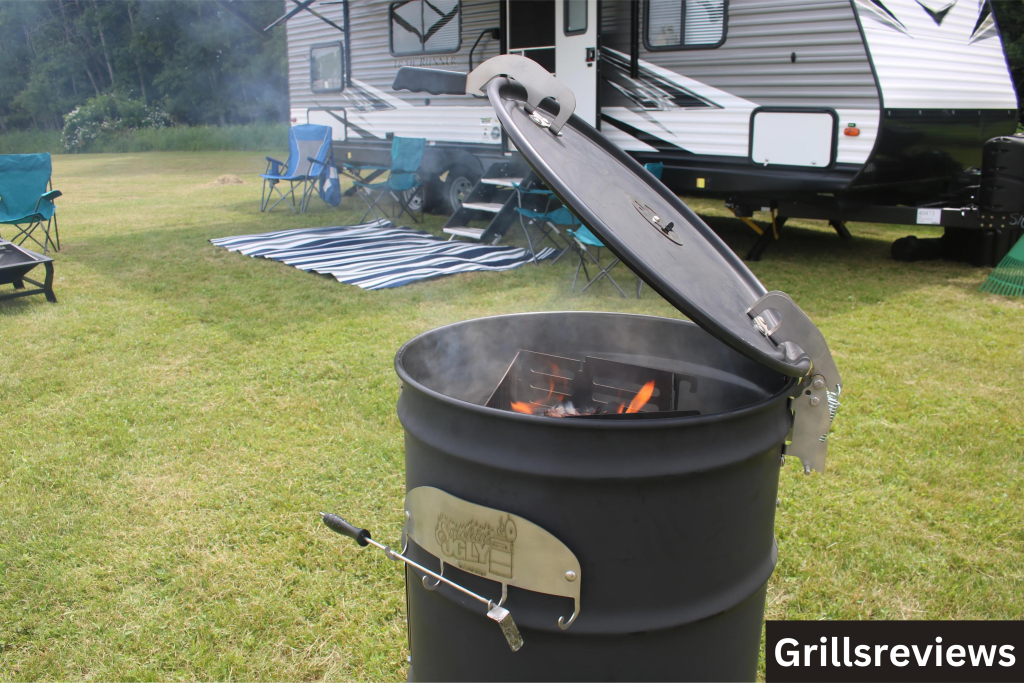
The ugly drum smoker is as simple and straightforward to construct as it gets.
You will require an old oil barrel, its lid, as well as the following equipment and supplies:
Bolts and Nuts
A threaded pipe with a valve
An expanded metal sheet
An elbow pipe
Two cooking grates
A drill
A welder
An angle grinder
The drum smoker’s component pieces must be put together. The elements are:
The lid
The air intake
The drum smoker’s body
The fire basket
Step 1: Assemble the Drum Smoker’s Body
Making holes for the air intake is a necessary step in putting the drum smoker’s body together.
Additionally, drill holes for the nuts and bolts that will hold the stove grate in place.
You must drill holes on the barrel’s side that are the same size as your elbow pipe. The air intake will be located here.
Put one frying grate in the drum’s bottom position, and the other one should go on top where you have secured the nuts and bolts that will hold it in place.
Step 2: Assemble the Fire Basket
The fire basket prevents the bottom of the drum’s flames from spreading to the sides. Convection will only be used to transfer heat.
Cut it to the proper size using an angle grinder before assembling the fire basket.
Roll it and set it on top of the first cooking grate at the bottom of the drum.
Step 3: Assemble the Air Intake
Attach the threaded pipe to the elbow pipe by tightening it.
After completing this, solder the elbow pipe onto the opening you made just for it.
You may put a thermometer or temperature gauge next to the air intake if you choose.
Step 4: Assemble the Lid Handle
Any hardware shop will have ready-to-mount lid handles.
Create a couple tiny holes on the drum lid for the screws holding the lid handle.
You might need to attach more than one handle, depending on the size of the lid.
How To Use a File Cabinet To Make a Smoker (3 Easy Steps)
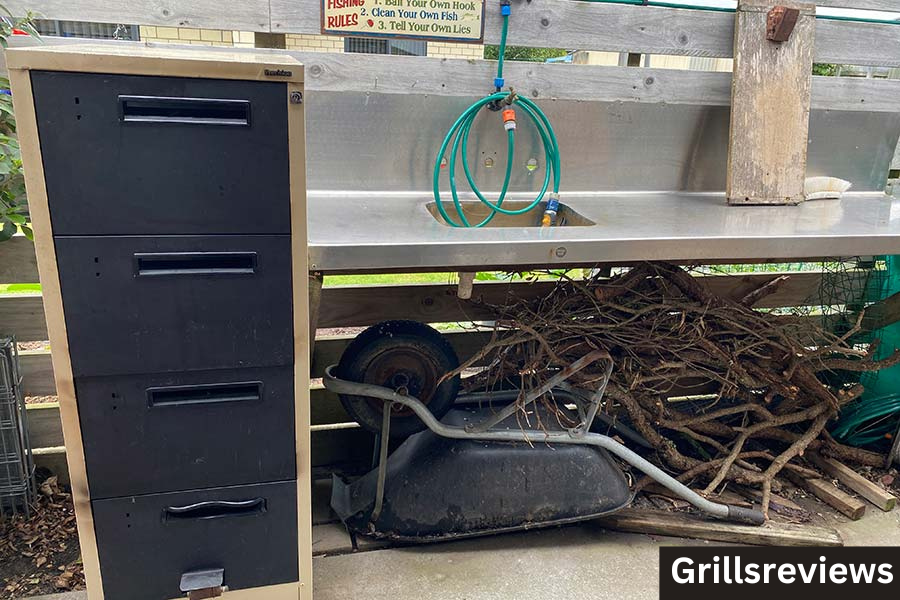
A file cabinet’s multilayer construction eliminates much of the labor.
In actuality, building a smoker out of a filing cabinet is simpler than using a drum.
You will require:
An unpainted file cabinet
Several barbecue racks
A drill
A file cabinet smoker is easy to construct and simply needs the following:
Step 1: Drill Holes on the Sides of the Cabinet
Drill holes with a diameter of around two inches.
You should drill two to four holes for each side, with at least two at the base of the cabinet on each side.
The top of the cabinet or the other holes may be at the same height as the upper drawers.
Step 2: Drill Holes on the Upper Drawers
Drill holes at the bases of the upper drawers after removing them.
The meat may be heated and smoked in the bottom drawer through the openings.
You don’t need to make many changes to the bottom drawer because it serves as your feed box for charcoal or wood.
Step 3: Mount the Barbecue Racks on the Upper Drawers
Put grill racks on the upper drawers after you’ve drilled holes in them. Your meat will be positioned like this.
The racks may be held in place either by welding them on or by placing them on top of crooked nails.
Related Posts
Weber Connect Smart Grilling Hub Troubleshooting

Best Wood Pellets for Brisket: The Ultimate Guide
